四、配置网络代理
原创大约 2 分钟约 528 字
四、配置网络代理
默认情况下子系统的网络是 NAT 模式,在该模式下子系统的网络环境与本机不在同一个网段,所以本机开启代理后并不会影响到子系统的网络。而在开发过程中通常需要使用到外网,所以需要在子系统中通过代理到本机端口来访问外网。
安装 Clash for Windows
clash for windows是一个非常好用的代理工具,因为经常访问google和github,所以代理工具必不可少。这里我使用的是汉化版:Clash for Windows Chinese 。
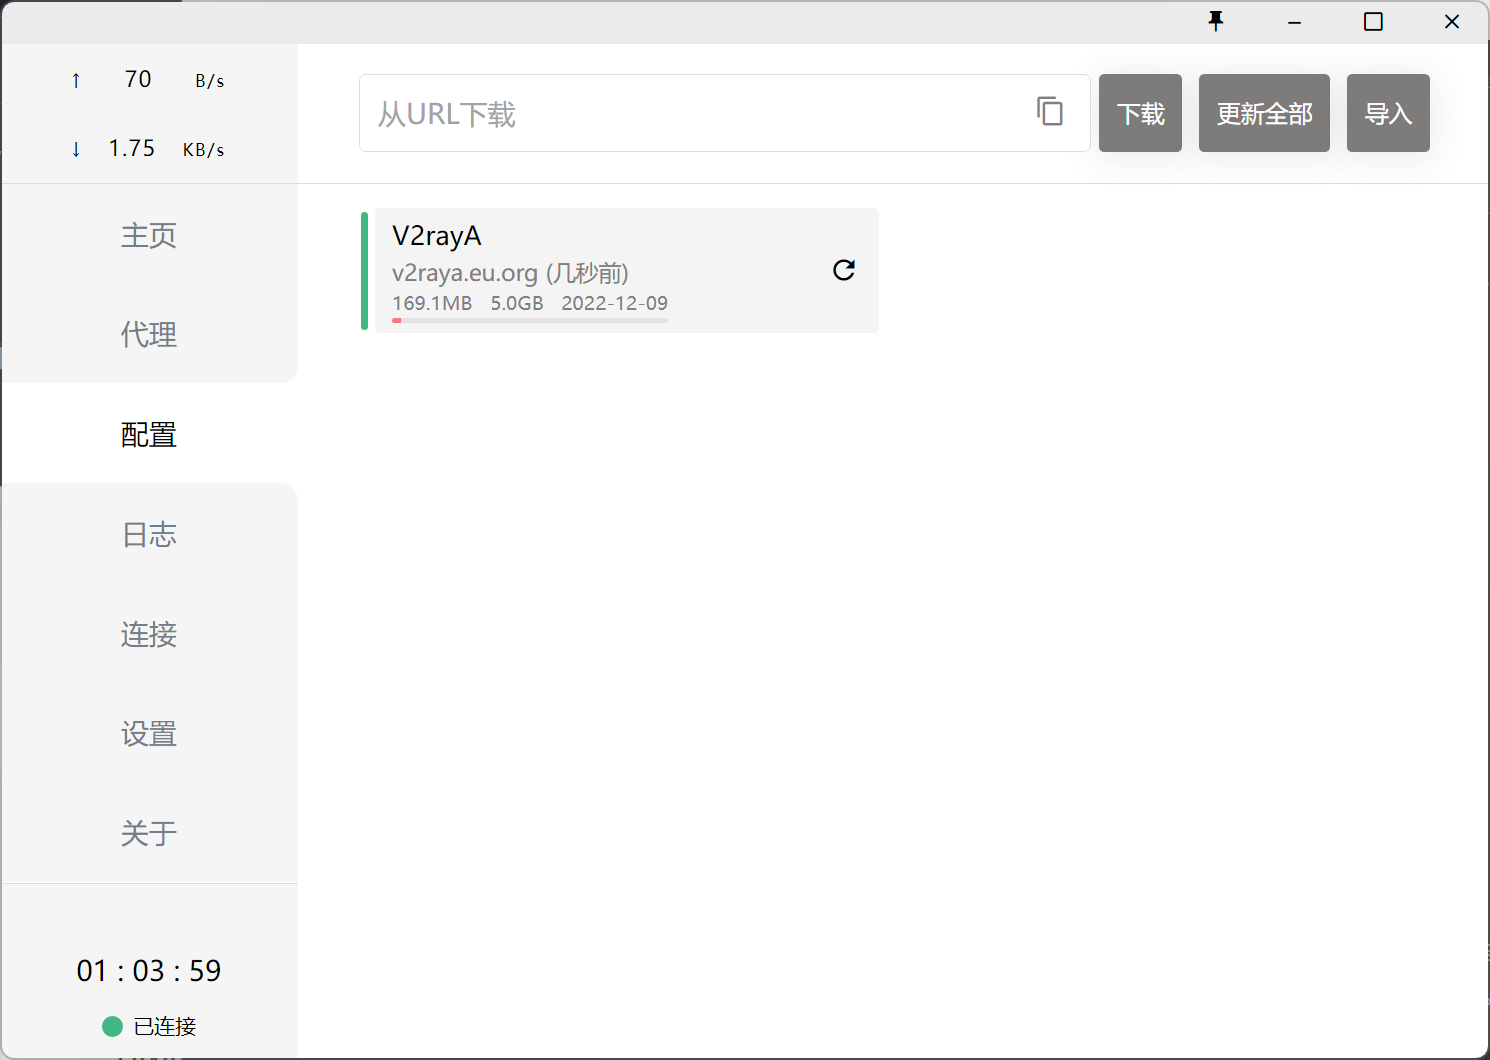
安装完成后,配置代理,订阅地址自行到github搜索寻找,搜索关键字:clash订阅:
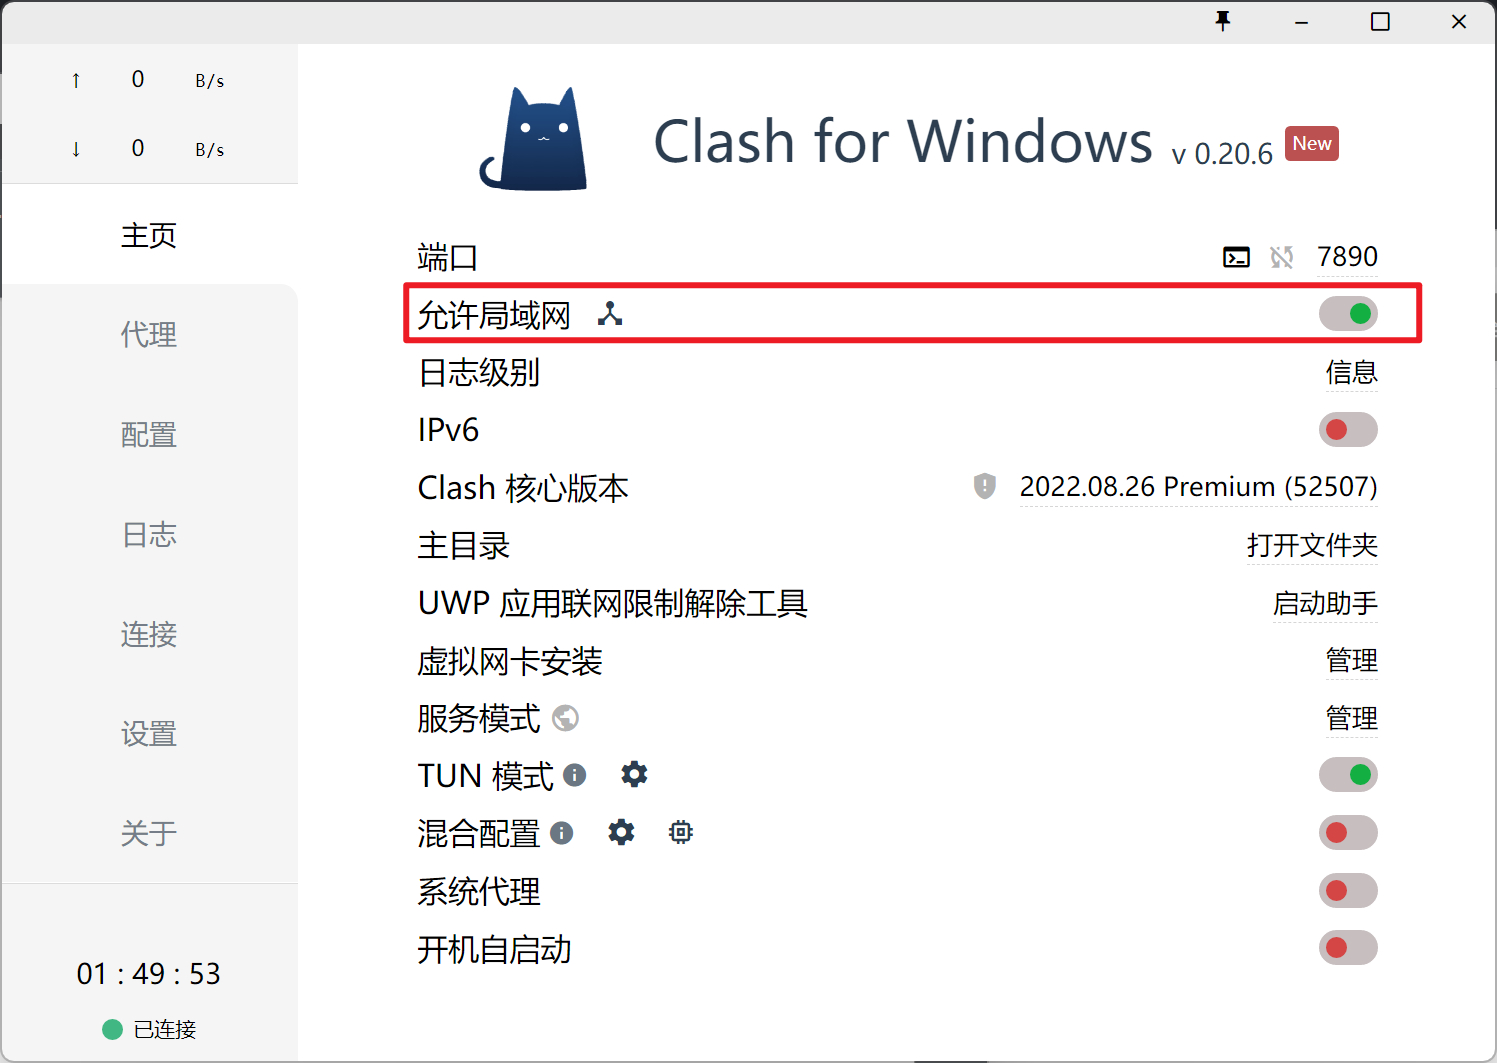
在主页打开 “允许局域网”,端口默认即可:
完成以上操作后,回到 Ubuntu 子系统。
配置代理脚本
在 Ubuntu 子系统中编写一个脚本,方便我们开启和关闭代理。
vim ~/proxy.sh
写入以下内容:
#!/bin/sh
hostip=$(cat /etc/resolv.conf | grep nameserver | awk '{ print $2 }')
wslip=$(hostname -I | awk '{print $1}')
port=7890

PROXY_HTTP="http://${hostip}:${port}"

set_proxy(){
  export http_proxy="${PROXY_HTTP}"
  export HTTP_PROXY="${PROXY_HTTP}"

  export https_proxy="${PROXY_HTTP}"
  export HTTPS_proxy="${PROXY_HTTP}"

  export ALL_PROXY="${PROXY_SOCKS5}"
  export all_proxy=${PROXY_SOCKS5}

  git config --global http.https://github.com.proxy ${PROXY_HTTP}
  git config --global https.https://github.com.proxy ${PROXY_HTTP}

  echo "Proxy has been opened."
}

unset_proxy(){
  unset http_proxy
  unset HTTP_PROXY
  unset https_proxy
  unset HTTPS_PROXY
  unset ALL_PROXY
  unset all_proxy
  git config --global --unset http.https://github.com.proxy
  git config --global --unset https.https://github.com.proxy

  echo "Proxy has been closed."
}

test_setting(){
  echo "Host IP:" ${hostip}
  echo "WSL IP:" ${wslip}
  echo "Try to connect to Google..."
  resp=$(curl -I -s --connect-timeout 5 -m 5 -w "%{http_code}" -o /dev/null www.google.com)
  if [ ${resp} = 200 ]; then
    echo "Proxy setup succeeded!"
  else
    echo "Proxy setup failed!"
  fi
}

if [ "$1" = "set" ]
then
  set_proxy

elif [ "$1" = "unset" ]
then
  unset_proxy

elif [ "$1" = "test" ]
then
  test_setting
else
  echo "Unsupported arguments."
fi
提示
编辑完保存退出。脚本中第 4 行的port为代理端口,如有需要请自行修改。
接下来为脚本配置别名:
vim ~/.bashrc
在该文件内容的结尾加入:
alias proxy="source ~/proxy.sh"
重载配置:
source .bashrc
之后就可以执行以下命令了:
proxy set:开启代理proxy unset:关闭代理proxy test:测试网络代理